The two-step method for the best concealer to cover dark spots


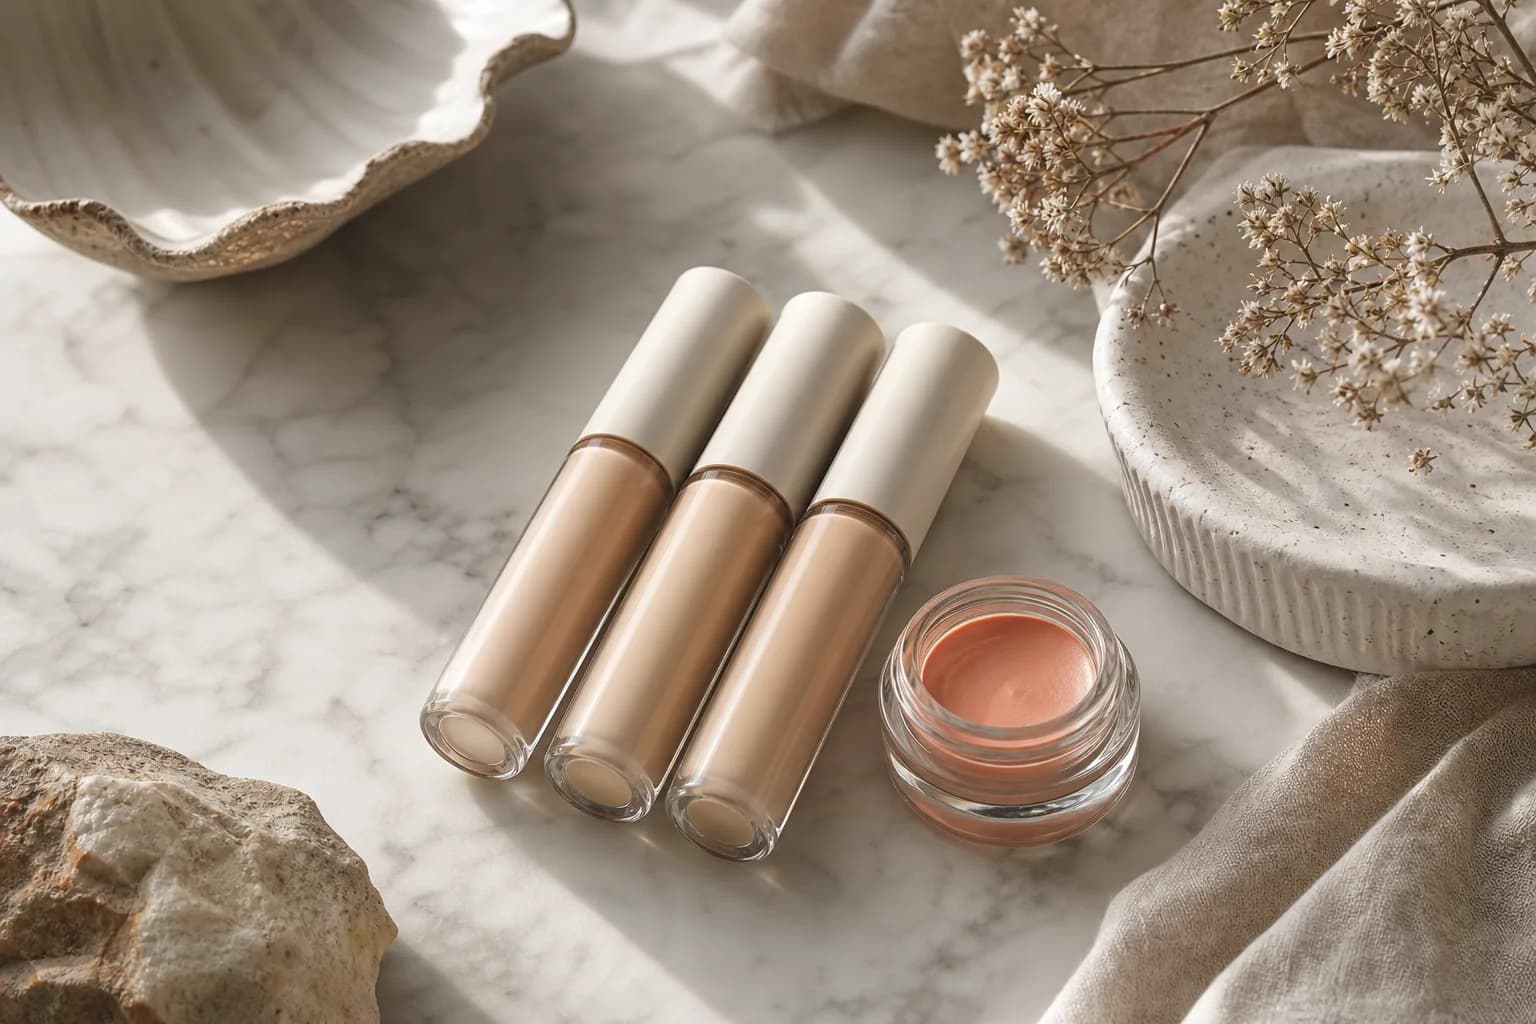
Neutralize with a peach/orange corrector then layer a hydrating, high‐coverage satin-finish concealer; blend and set lightly to avoid cakiness. This direct two-step answer—the corrector to cancel brown pigment, then a blendable concealer for opacity—works across most skin tones when you match tones and textures carefully.
Intro: Why a two-step method beats single-product fixes
A single heavy concealer can provide coverage but often magnifies texture, dries into creases, or sits visibly on deep pigment. Targeted color correction lets you neutralize darkness without smothering the skin in product, and a buildable, hydrating concealer gives the opacity you need without thickness. The tradeoff is time and a small learning curve: you’ll need to judge corrector strength, concealer finish, and how much setting powder is acceptable. Below, you’ll find decision criteria, texture tradeoffs, step-by-step layering, and concrete examples to match product types to different needs.
How to neutralize dark spots
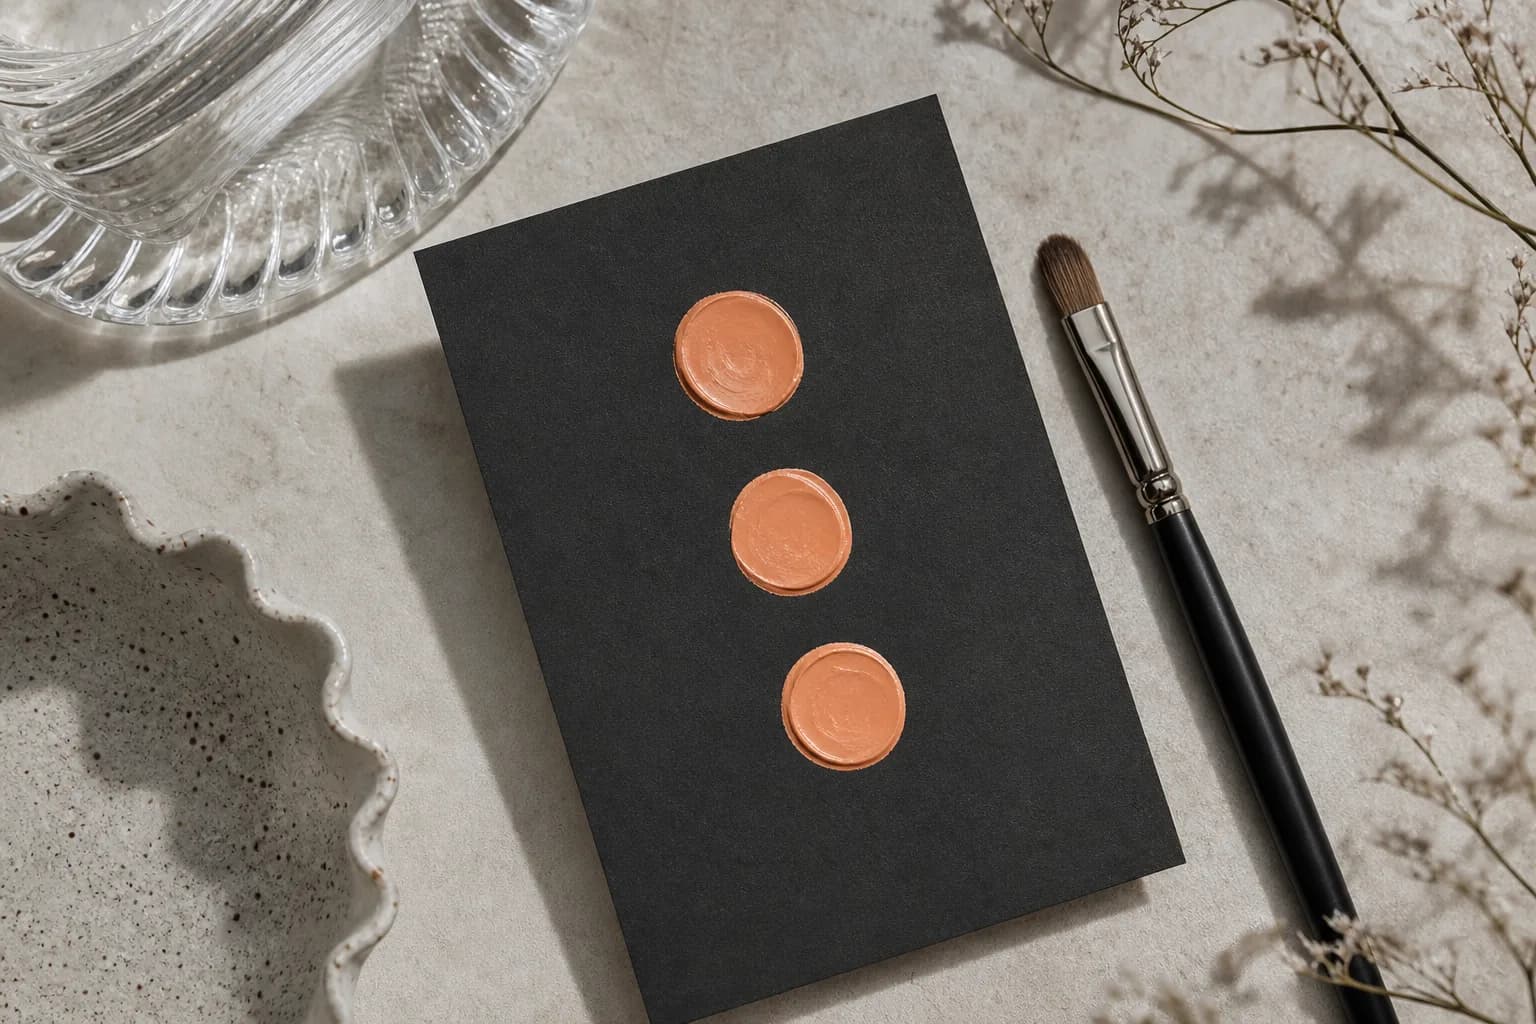
Start by assessing the shade and depth of the spot: mid-brown spots need a peach, deeper brown benefits from a more orange/terra-cotta corrector, and faint gray-brown marks can take a warm peach-yellow. Apply the corrector sparingly with a tiny brush or fingertip; the goal is color cancellation, not full coverage. Pat into the center of the mark and blend the edges so there’s no hard line where it meets surrounding skin.
Correctors come in cream, stick, and liquid textures. Creams give control and sit well under concealer on normal to dry skin, while liquids spread thinly and layer easily under makeup for oily skin. Sticks are portable but can deposit too much product on textured lesions. If your skin is darker, choose an orange-tinted corrector rather than a pale peach to avoid a ghosted halo. After neutralizing, wait a few seconds for the product to settle—this prevents the concealer from shifting the corrector when layered.
What to look for in a concealer formula
Coverage and opacity without cakiness should be the primary filter: aim for a concealer labeled medium-to-full that builds without feeling paste-like. Next, consider finish: satin or natural finishes preserve skin texture better than ultra-matte formulas that can emphasize dryness and creases. Hydrating or emollient formulas are forgiving on textured or mature skin, while oil-free, long-wear concealers suit oily skin types.
Use the following decision table to score priorities quickly when you read product descriptions or ingredient lists. Look at weight (sheer, medium, full), finish (matte, satin, dewy), and key handling traits (creamy, whip-like, fluid). Tradeoffs: higher pigment often equals more opacity but increases risk of visible edges—so prioritize blendability and a finish that matches the rest of your base.
| What to check | Why it matters | Example format to try |
|---|---|---|
| Coverage level | Dictates how many layers you’ll need; more layers can cake | Medium-to-full creamy concealer tube |
| Finish | Matte can draw attention to texture; satin balances concealment and skin-like look | Satin-finish liquid or cream concealer |
| Texture | Creamy vs. thin fluid affects layering over corrector | Lightweight cream for dry skin; fluid for oily skin |
| Setting behavior | Some formulas compress into fine lines—look for crease-resistant labels | Concealer marketed as crease-resistant or long-wear |
Choosing the right color corrector for your undertone
Instead of guessing, pair the corrector hue with the undertone and depth of the spot. Mid-brown spots usually neutralize with peach; deeper brown needs orange; ashy grayish spots can respond to a yellow/peach blend. For warmer complexions, avoid overly pink correctors, which can add ashy cast. For cooler complexions, a pure peach often reads more natural.
Practical list to guide your pick:
- Peach: neutralizes medium brown spots on most skin tones.
- Orange/terra-cotta: needed for deep brown spots on medium-dark to dark skin.
- Yellow/peach blend: corrects ashy, gray-ish marks and evens warm undertones.
- Avoid pastel pinks on brown spots—these can create a gray halo.
Texture and application matter as much as color. A cream-to-paste corrector gives concentrated pigment for stubborn spots; a thinner liquid blends more seamlessly under foundations and is easier to sheer out. If you’re unsure, try a small corrector dot behind your jaw in natural light and compare tones before committing.
Texture tradeoffs: satin, dewy, and matte for spots
Satin or natural finishes are the safest bets when disguising dark spots because they balance coverage with skin realism. Satin keeps a subtle, low-sheen reflection that masks depth without highlighting bumps, while dewy finishes can smooth the look of texture through light diffusion. Matte concealers hide oil and provide opacity, but they can accentuate dryness and pore edges when used heavily over textured pigmentation.
Think of finishes as tools: use satin for mature or textured skin where you want softening, pick dewy if you want light reflection to blur unevenness, and select matte for oily skin that needs oil control. The tradeoff with dewy ones is longevity—these often require a light setting technique to avoid migration. If a product is labeled crease-resistant, that helps long-wear, but check for ingredients that keep the feel supple (glycerin, light esters) rather than overly drying powders.
Layering technique: correct, conceal, set
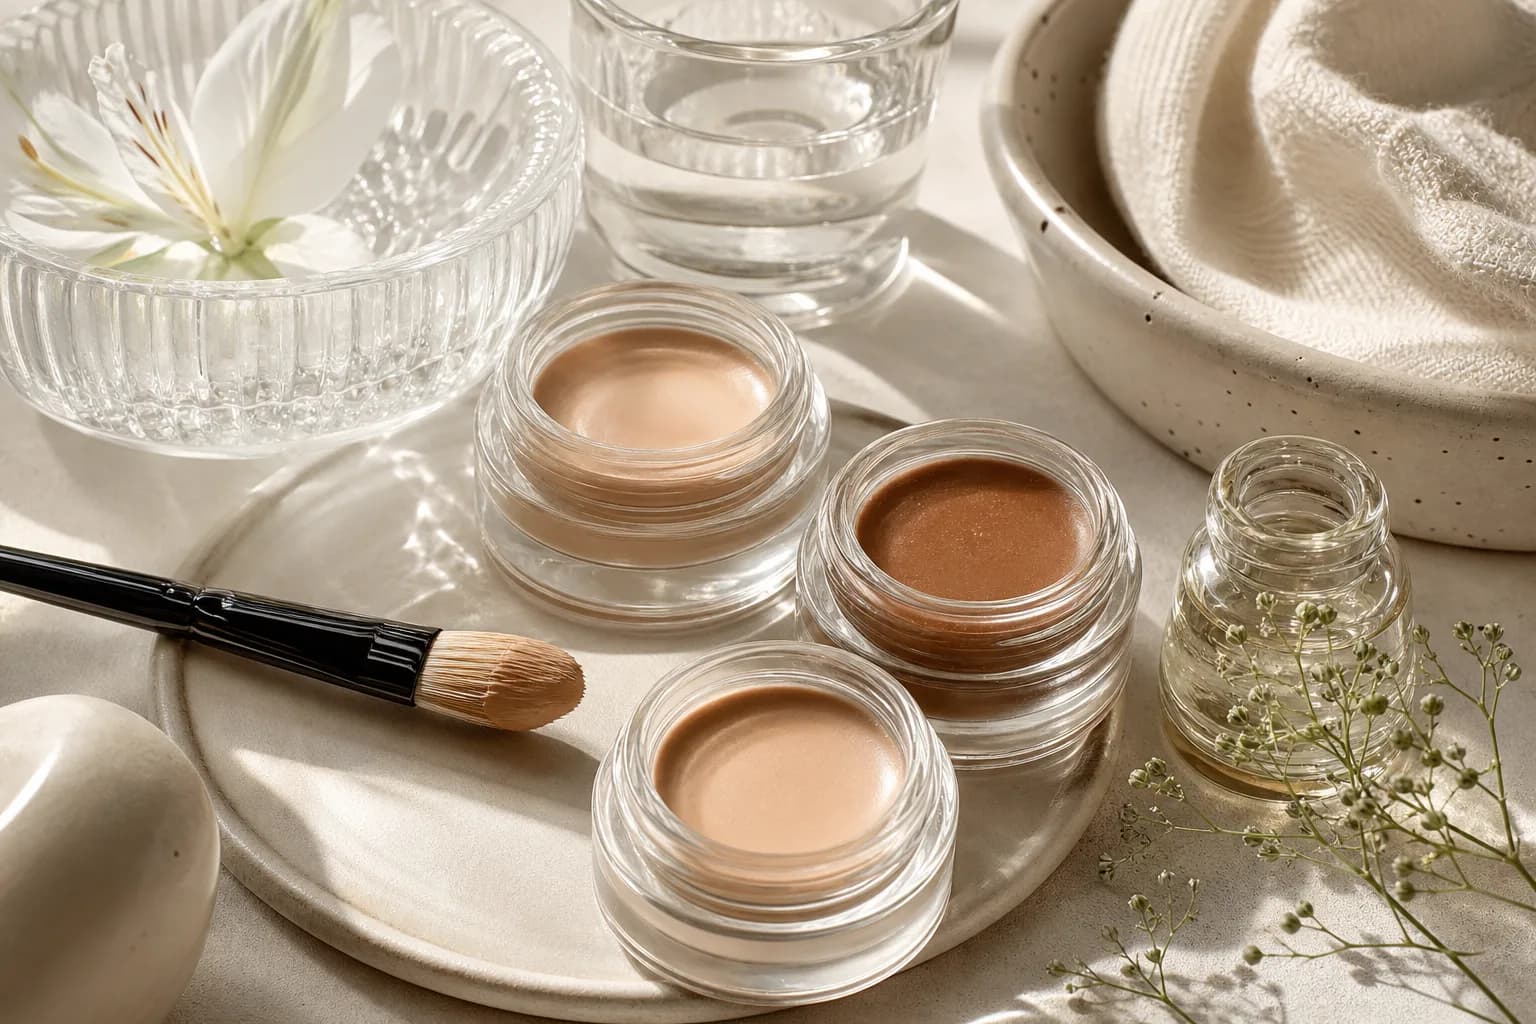
Layer with intention: a little corrector, a thin layer of concealer, then gentle setting. Start by applying a pea-size amount of corrector only where needed; blend edges carefully. Next, dot concealer in a triangular shape around the spot or directly over the corrected area and pat with a small, dense brush or a clean fingertip. Avoid dragging motions that will lift the corrector underneath.
For setting, less is more: a tiny puff of finely milled powder pressed only where you need staying power prevents the powder from creating a halo around the spot. If you prefer dewy finish, skip powder and instead use a long-wear setting spray to lock the layers without mattifying. For oily skin, set only the center of the spot and the immediate perimeter to avoid emphasizing texture across the surrounding skin.
Inline application tools change the result: a small synthetic brush gives precision, a sponge produces an airbrushed effect, and fingertips warm the product for seamless blending. Choose the tool that maps to your coverage need: brush for targeted opacity, sponge for soft diffusion.
Product formats and who they suit
Concealer formats fall into predictable categories with clear tradeoffs. Tubes and pots with creamy formulas are ideal for dry or textured skin because they contain emollients that sit luxuriously and blend without pulling. Liquid concealers—especially those with a satin finish—are versatile for most skin types; they layer well over correctors and are easy to sheer or build. Stick concealers offer portability and targeted deposit but can be heavy and are best for quick touch-ups on non-textured skin.
Examples from common shelf types: NARS Radiant Creamy Concealer represents a creamier, radiant option often recommended when you want blendable coverage; Charlotte Tilbury Magic Away Concealer is an example of a high-coverage, blendable liquid-tube format; LA Girl Pro Conceal HD illustrates how a budget-friendly corrector + concealer layering approach can work when color correction is applied underneath. Each format answers a different need: choose cream for dry skin or noticeable texture, liquid for buildable, skin-like coverage, and stick for targeted, quick fixes.
Real-world decision examples
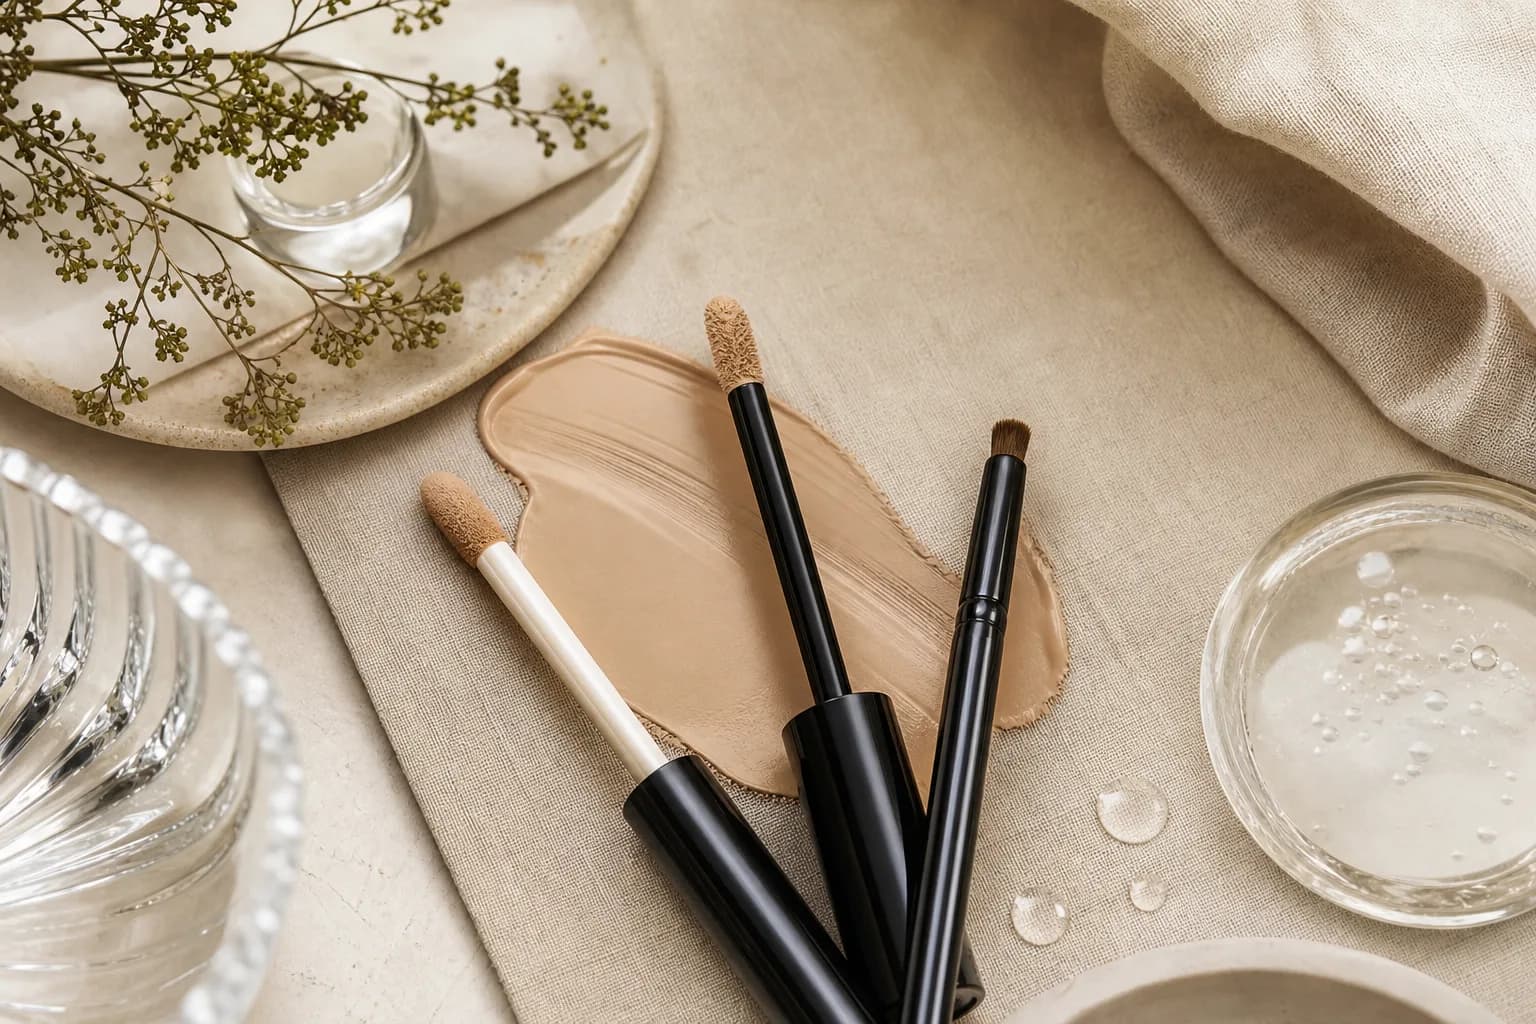
Example 1: A person with medium skin and a few mid-brown sun spots. Decision: pick a peach cream corrector, apply tiny dots into the spots, then layer a satin liquid concealer in a shade one tone lighter than the surrounding skin for brightness. Set only the centers with a light dusting of finely milled powder.
Example 2: Deep skin with stubborn dark marks. Decision: use an orange/terra-cotta corrector cream applied sparingly and blended outward; follow with a full-coverage, hydrating cream concealer that matches skin depth (not two shades lighter) to avoid ashiness. Use a spritz of setting spray rather than heavy powder to maintain depth.
Example 3: Oily skin with flat brown spots. Decision: choose a thin, long-wear liquid corrector if available, then a matte-to-satin concealer with crease-resistant claims; set with a micro-powder applied with a small puff only at the site. Re-touch with a blotting tissue, not extra powder.
Inline tools and finish choices matter: a sponge can sheer out coverage for a natural look but may move the corrector; a small synthetic brush is best when you need precision and minimal product transfer.
Frequently asked questions
How do I pick the peach or orange corrector shade?
Start by comparing the corrector on a small patch near the jawline in natural light. Peach tones neutralize medium brown spots; orange or terra-cotta shades are necessary for deeper brown marks, particularly on darker complexions. Choose the minimal intensity that cancels the darkness—too bright an orange will show through after concealer.
Will heavy concealer make my spot look worse over time?
If a concealer is very matte and dry, it can accentuate texture and creases, which may make spots more noticeable. That’s why a two-step method—color correct, then use a hydrating, satin-finish concealer—reduces the need for thick layers and helps the result read more natural.
How much powder should I use to set spot coverage?
Use the least amount that secures wear: press a pinch of finely milled powder only onto the treated area and immediate perimeter. Excess powder draws attention to texture and can create a pale halo. If you need extra longevity, a light spritz of setting spray is a better option than adding more powder.
Can I skip corrector and just use concealer?
Yes, concealer alone can work for superficial or faint spots, but deep or cool-toned hyperpigmentation often benefits from a corrector first. The corrector neutralizes the underlying pigment, allowing the concealer to do less heavy lifting and look more natural.
Related Reading
- The best retinol for dark spots: a clinical-first guide
- The smart buyer’s guide to creams for dark spots on the face
- Dark spots serum: choose the right brightening formula
Sources
- Allure — Best Concealers for Dark Spots (2026 round-up)
- Marie Claire — Makeup winners and corrector tips (2026)
- Makeup artist guidance — color correction basics (industry guidance)
Clear guidance, checked before publication.
Solvi articles are structured by our editorial team and reviewed for clarity, consistency, and responsible health language. We update pages when guidance or product information changes.

Maya Bennett
Senior Beauty Editor. Maya is the skincare obsessive who turns big beauty questions into clear, grounded guidance. She is especially interested in routines that respect real skin, real schedules, and realistic budgets.