The best foundation for acne scars: cover without caking


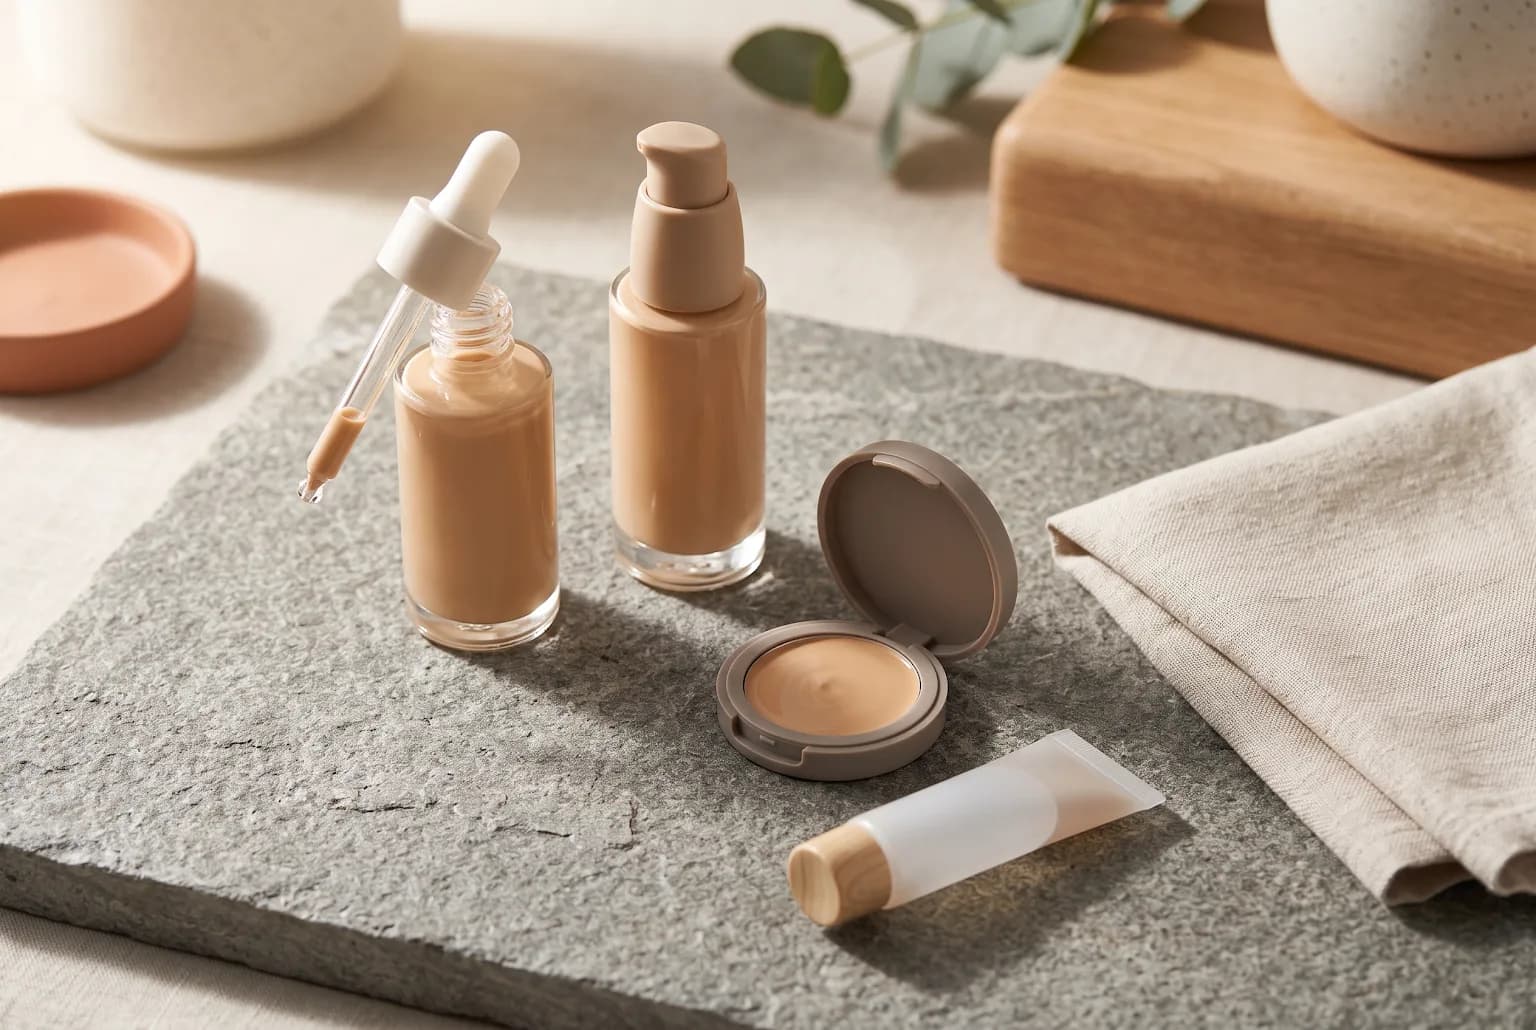
Use non-comedogenic, buildable liquid or cream foundations with a silicone-blurring or hydrating finish and apply in thin, stippled layers over a hydrating primer. Correct redness first with a targeted color corrector if needed, then stamp product in with a damp sponge or dense stippling brush to avoid tugging at pitted scars. The goal is to disguise depth and hue without filling every crater with chalky powder or heavy makeup that emphasizes texture.
<!-- image: hero -->
How foundations should perform for acne scars
Foundations for acne scars need three practical traits: buildable coverage, a texture that blurs rather than amplifies pits, and non-comedogenic bases that won't worsen breakouts. Buildable coverage means medium-to-full opacity in repeatable, thin layers so you can address darker marks without slathering on product. Texture matters: silicone-hybrid or light-reflecting blurring finishes fill shallow depressions optically and create a smoother surface under diffuse lighting.
Avoid formulas that are heavy, drying, or ultra-matte if your goal is to reduce the appearance of pitted scars. Ultra-matte, powdery finishes can sink into depressions and create a shadowed look; conversely, some dewy finishes can emphasize oil-prone skin unless they are oil-free and non-comedogenic. When shopping, look for explicit notes like "non-comedogenic," "oil-free," and ingredients that add slip (silicone derivatives) or hydration (low levels of humectants) without clogging.
Choose the right texture: liquid, cream, or serum
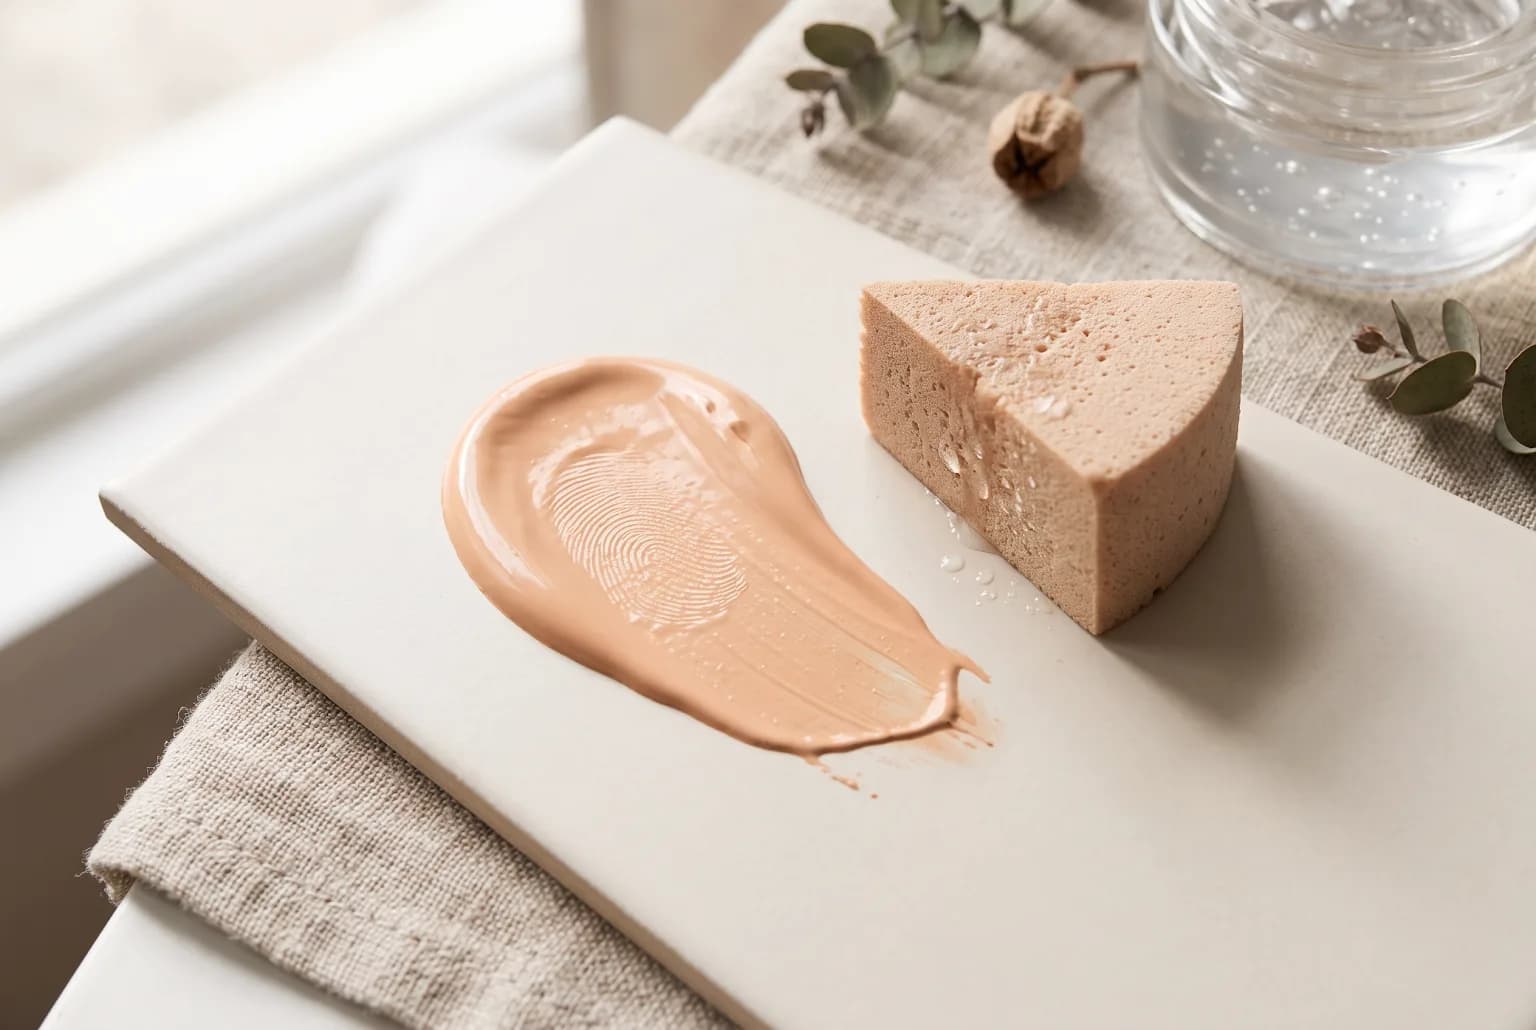
Liquid and cream foundations are the primary formats for camouflage without texture amplification. Liquids with a silicone-blurring layer provide slip and spreadability; creams sit closer to the skin and can be sheered or built depending on the formula. Serum foundations (tinted elastomer blends) are a modern middle ground: they layer like a liquid but contain smoothing polymers that help blur pits. Pick by skin type: oily acne-prone skin often prefers oil-free silicone-blends; dry, acne-prone skin benefits from hydrating creams with humectant support.
Tradeoffs: liquids usually offer the best balance of buildable coverage and non-occlusion; creams can give fuller coverage but may require a careful primer to prevent settling; serum foundations can be the most forgiving with texture but sometimes lack an opaque finish for deep discolouration. If redness is the main concern, a green-tinted thin primer under a medium-coverage liquid often beats a heavy concealer in naturalness.
<!-- image: choose-the-right-texture-liquid-cream-or-serum -->
Key formula features to look for
Focus on four decision criteria: coverage, texture, non-comedogenicity, and beneficial components. Coverage: medium to full that’s buildable in layers. Texture: silicone-hybrid polymers, dimethicone or cyclopentasiloxane derivatives, and light-diffusing particles that soften edges of pits. Non-comedogenic and oil-free wording reduces the risk of new breakouts; patch-test a small area first.
Beneficial additions to prioritize are lightweight humectants like low‐level hyaluronic acid for surface hydration (not heavy occlusives) and pigments with strong chroma to obscure redness. Avoid heavy talc-dense powders and high concentrations of drying alcohols that can accentuate texture. For redness control, a thin green-tinted correcting primer is useful beneath foundation rather than piling concealer.
| Decision criterion | What to look for | Tradeoff |
|---|---|---|
| Coverage | Buildable medium→full | Avoid single-layer full-coverage creams that require heavy removal |
| Texture | Silicone-hybrid, blurring particles | Some silicones reduce matte longevity on oily skin |
| Ingredients | Non-comedogenic, oil-free, light hyaluronic | Heavy emollients can clog |
| Application | Stippling/stamping with damp sponge | May require practice to avoid streaks |
Application techniques that minimize texture
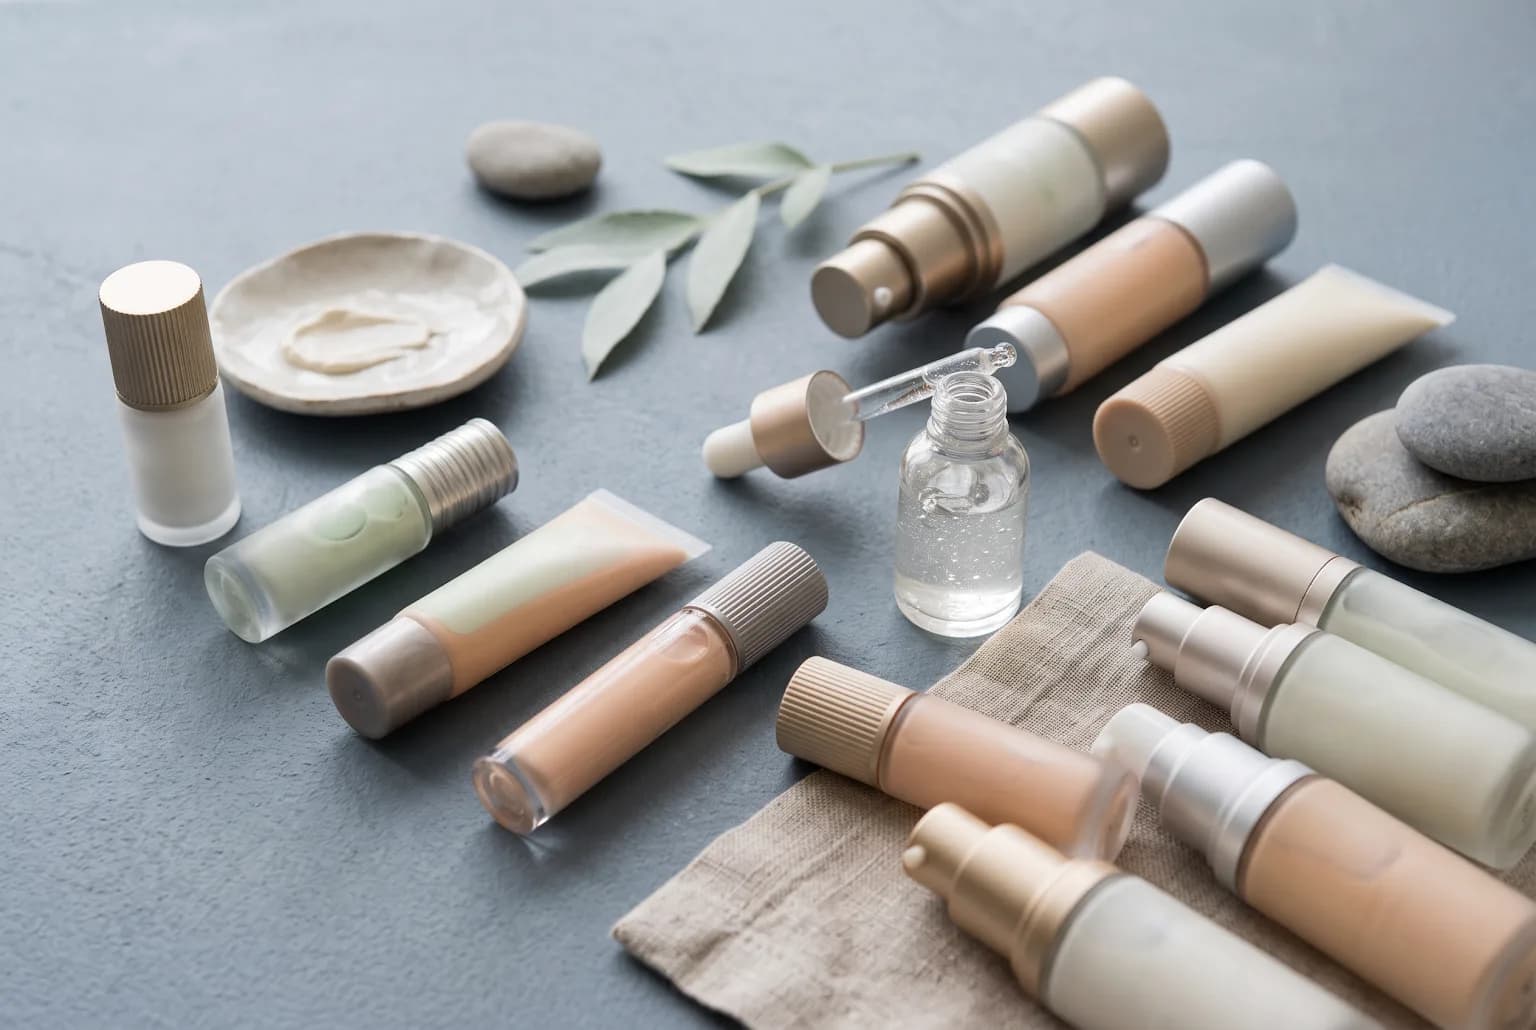
Technique is as important as the formula. Stippling or micro-sponge stamping places product into depressions without dragging or shearing skin, which can exaggerate pits. Use a damp beauty sponge or a dense stippling brush to press product in small circular motions, then lightly smooth with a hinged roll motion—never wipe. Work in thin layers: apply a light veil across the entire face first, then selectively build coverage on hyperpigmentation or deeper pits.
Use a color corrector only where needed: a pea-sized amount of green-tinted primer thinly applied to red areas, patted in, then topped with thin foundation layers. For active acne nearby, isolate with targeted concealer and avoid heavy sweeping motions. The final setting should be minimal: micro-powdering the T-zone or the deepest pits with a very light touch is safer than dusting the whole face.
<!-- image: application-techniques-that-minimize-texture -->
Layering strategy: primer, corrector, foundation, and setting
A clear step sequence prevents overworking textured areas. Start with a lightweight, hydrating primer focused on smoothing—silicone primers can fill micro-shadows, while hydrating primers maintain pliability. Correct extreme redness with a thin green corrector only where needed. Apply foundation in thin, stippled layers across the face; build only where coverage is required rather than spot-piling concealer.
Finish selectively: for large pores and scars, use a micro-sponge or tiny fluffy brush to lightly set the deepest depressions with a finely milled translucent powder. If you use a setting spray, mist from arm’s length to rehydrate surface powder and reduce a cakey look. Below are simple steps.
- Cleanse and hydrate with a lightweight moisturizer suitable for acne-prone skin (see our guide on the balanced skincare routine for acne and oily skin: ).
- Apply a thin silicone or hydrating primer to the whole face, focusing on textured zones.
- Dab color corrector where redness persists; pat to blend.
- Stipple foundation in thin layers; build only where necessary.
- Lightly set the deepest pits with micro-powdering and finish with a single mist of setting spray.
When to avoid powders and heavy concealers
Heavier powders and dense concealers commonly emphasize pits by sitting on top of edges and creating a ringed shadow. Avoid full-face heavy powdering, and skip thick stick concealers on depressed scars—those formulas tend to cake. If you need extra coverage, opt for a thin cream corrective concealer placed with a micro spatula or thin brush then pressed into place with a sponge.
If you have oily, acne-prone skin that still needs matte control, treat shine selectively: a small amount of finely milled translucent powder applied with a micro-sponge in the T-zone and on deep pits will control oil without flattening the rest of the look. For product suggestions on powders suited to oily, acne-prone skin, our guide on the best face powder for oily, acne-prone skin is useful: .
<!-- image: when-to-avoid-powders-and-heavy-concealers -->
Practical shopping checklist and decision examples
When you shop, evaluate each candidate against a short checklist: is it non-comedogenic and oil-free, does it provide buildable medium-to-full coverage, does the finish include silicone‐based blurring, and can you apply it using stippling without tugging? Here are three realistic decision examples to help match product format to skin needs.
Example 1 — Oily, acne-prone with shallow pits: Choose an oil-free silicone-hybrid liquid foundation with medium buildable coverage. Tradeoff: may need a micro-powder in the T-zone for longevity.
Example 2 — Dry, acne-prone with pitted texture and visible redness: Pick a hydrating cream-to-serum foundation with light hyaluronic acid and opaque pigments; pair with a green-tinted correcting primer sparingly. Tradeoff: touch-ups might be needed midday if skin oil increases.
Example 3 — Combination skin with mixed texture: Use a silicone primer on textured zones, a serum foundation across the face, and targeted cream concealer patted with a sponge on deeper marks. Tradeoff: more tools but a natural finish.
Frequently asked questions
How do I stop foundation from settling into pitted acne scars?
Use a silicone-blurring primer and thin, stippled layers of a buildable foundation. Press product into depressions with a damp sponge or dense stippling brush rather than wiping. Finish by lightly micro-powdering only the deepest pits and misting with a setting spray to reduce a cakey look.
Which foundation format hides acne scars best: liquid or cream?
Liquid foundations—especially silicone-hybrid or serum-like liquids—tend to balance buildable coverage with slip and blendability, making them a first choice. Creams offer fuller coverage but require careful technique to avoid settling; choose cream if you need more opacity and pair with effective priming.
Should I use a green corrector under foundation for scarring redness?
Yes—only if redness is significant. Apply a thin layer of green-tinted corrector sparingly, pat to blend, and then layer foundation thinly on top. Correcting large areas with heavy green concealer can look artificial; spot-correct and then blend.
Are non-comedogenic foundations guaranteed to prevent breakouts?
Non-comedogenic labeling reduces the likelihood of pore-clogging but does not guarantee no breakouts. If you’re acne-prone, patch-test a small area for several days before full-face use and follow a balanced skincare routine (see our guide to the balanced skincare routine for acne and oily skin: ).
Related Reading
- The best makeup remover for sensitive skin: a format-first guide
- Best Serum for Acne Scars: Choose by Mark Type, Not Hype
- Fungal Acne vs. Hormonal Acne: The Pattern-First Guide to Choosing the Right Treatment Lane
Sources
- Cosmopolitan — best foundations for acne-prone skin (2026 roundup)
- Who What Wear — makeup-artist/editorial tips for covering scars and redness
- Oprah Daily — general makeup technique guidance for textured skin
Clear guidance, checked before publication.
Solvi articles are structured by our editorial team and reviewed for clarity, consistency, and responsible health language. We update pages when guidance or product information changes.

Camille Reed
Beauty Product Reviewer. Camille approaches beauty shelves with curiosity and a healthy amount of skepticism. She compares formulas, value, packaging, and usability to help readers see what a product actually offers.